Friday, August 31, 2012

My "First week at college" mani!

First I'd like to apologize for these poor quality pictures. My camera was spazzing out because of the glitter. I tried..i really did! These were the most "non-blurry" out of them all! :(

Anyway, as you may know by now...I started college this week! Well, orientation started last week: conservatory orientation on Wednesday and University orientation on Thursday. So of course I had to use my lucky polish for these! My "lucky polish" is actually Sally Hansen Xtreme Wear Rockstar Pink. For the past almost two years I've worn it for every band concert, audition, and anything else major, such as starting college! College has been WONDERFUL so far- Capital University is marvelous. And the Conservatory of Music is fantastic, I'm so happy there, I never thought I'd be this happy in a school! I'm proud to call myself a Music Education Major at Capital University. :)

Now for the polish. I started off with three coats of OPI Pink Friday, then once that dried I sponged Sally Hansen Xtreme Wear Rockstar Pink on the tips. I got so many compliments on these! And they lasted from Tuesday night to Sunday with minimal chipping!! The only reason I didn't redo them was because I wanted to have my lucky polish on for my audition on Sunday.


Wednesday, August 29, 2012

OPI Black Spotted!

Hi guys! Sorry I haven't been posting as much- like I said before, I just started college so I've been reaaaaally busy! and guess what, I MADE 5TH CHAIR IN THE SYMPHONIC WINDS BAND! AHHHH! The symphonic winds is the top band at Capital University for those who don't know, I REALLY didn't expect to get in it! Especially since I'm only a freshman! So far classes are good, I've had to change my schedule 3 times already! I never really understood why they always said "music is one of the most demanding majors"....until this week. It's only been 3 days and I'm INCREDIBLY busy. 17.5 credit hours. crazy. In the long run it'll be worth it though! :)

Onto the polish- I have just something simple to show you today..but it's something I really really like! I enjoyed the jelly sandwich I posted previously, however for my taste, it was a little..dare I say boring? So I decided to kick it up a notch and added a coat of OPI Black Spotted to it! I absolutely love OPI. I wish I could say I acquired this in a swap with a friend from France, but unfortunately I don't have any acquaintances in France...so I bought it on ebay! $50ish. crazy, right? But soooo worth it. 


I think I actually like Spotted better than Shatter. I love my shatters, don't get me wrong, but this is just so....AWESOME! I almost don't want to use it because I don't want to run out!

Sunday, August 26, 2012

Pink and Girly Jelly Sandwich!

I'm back! I'm sorry that took SO much longer than I anticipated. I thought I'd be able to post these once I got back from orientation and before I went out of town for a day, but I was just too exhausted after walking around campus for 12 hours at orientation on Thursday, and Wednesday and Friday once I got back I decided to practice for my audition which was this evening, which didn't go too well, maybe it went better than I think it did? Who knows. I'll find out Tuesday. Long story short, I've been super busy with college and my best friend's mom's wedding that I haven't had a chance to post these!

Here I decided to FINALLY try a jelly sandwich! No, not a sandwich with some jelly on it, a jelly polish jam packed with layers of glitter in between! Awesome, right? Not too shabby for my first one :)


excuse the sad looking cuticles. I apologize :(

Colors Used
OPI You Callin Me A Lyre?
OPI Divine Swine
Sephora by OPI Only Gold For Me
China Glaze Fairy Dust

This kind of reminded me a little bit of OPI Teenage Dream, but not really. Having Fairy Dust on top made it holo looking in some lights and doesn't Teenage Dream have holo glitter in it? And just being pink and glittery and holo I automatically thought Teenage Dream. Maybe not super close, but more like a second cousin twice removed type deal haha

Thursday, August 23, 2012

Sorry for not posting in a couple days! :(

I've been super busy with conservatory orientation and now conservatory AND university orientation and practicing for auditions on Sunday AND my laptop is refusing to connect to the internet, so without that I can't post! My instagram has quick previews of what my upcoming posts will be so you can follow me there at jk602. I have pictures to post, I promise!

Tuesday, August 21, 2012

Saran Wrap Nails= Complete Nail Fail

Hi guys! I wasn't planning on posting this because I wasn't pleased with how they came out, but I figured someone out there might enjoy seeing people's failed mani's. I know I do! It kind of reassures me that I'm not the only one who messes up new techniques and such.

Anyway, after seeing multiple pictures and checking out a couple tutorials, I decided to give the saran wrap nails a try. Maybe it was just my color combo, but either way it just looked...odd. At least it did to me. I used OPI Sparrow Me The Drama as the base color and OPI Mermaid's Tears over top of it, which is the polish that the saran wrap is supposed to pick up and create a "marbled effect".


"Why on earth is there music in the background?" someone out there is thinking that and I can feel it. Reason being I was practicing clarinet for auditions on Sunday and took a quick break and decided to just snap a couple pictures to show you the failure of a mani this is. I disliked it so much that I didn't even bother to try to take a normal, decent picture. I screwed up the ring finger by waiting too long to touch it with the saran wrap and had to start that one all over and it turned out odd looking. And to me, every other one looks like I did my nails then accidentally touched them on objects and messed them up. Maybe a different color combination would work better? I'm not really sure. 

Does anyone have any good tutorials or tips for the saran wrap nails? I thought it looked simple enough, but this doesn't even look good to me. I have to be doing something wrong. 


Monday, August 20, 2012

Blue and Silver Glitter Gradient

Good morning! How is everyone today? This morning I have my first try at a glitter gradient using the sponging technique to show you guys! Now I've done glitter gradients before, but always just by using the brush in the bottle and hoping that i don't add too much. Since I've started doing gradients in non glitter colors with the sponging method, I thought I'd give the sponging method a try- and I don't think it turned out too bad! MUCH better than how I was doing it before.

I'm really sorry that the non-flash photos are blurry, my camera saw the glitter and spazzed out I guess, because out of the 30ish photos I took, these were the best. Pathetic, right?


and for a flash one, just to show how sparkly it is! 


Colors Used:
Dots Atomic Blue
China Glaze Lorelei's Tiara

To do the gradient I cut a normal kitchen sponge into a tiny square and dipped it in some water, this helps prevent the sponge from just sucking up all the polish. Then I took the glitter and made a line on the edge of the sponge about the width of my nail and started dabbing my nail with it, starting at the tip and going down to create the gradient effect.

As for the Dots polish, I picked up two the other day when I went clothes shopping. I've only tried this one so far, but I'm pleased. It's a bright blue, brighter than all the other blues in my collection, but not quite neon. It dried a tad darker than in the bottle. But application was good, three coats and it was perfect. Plus they were cheap! Only $2.80 a bottle! And buy one get one half off too. 

Sunday, August 19, 2012

Sally Hansen Insta-Dri Anti-Chip Top Coat Review

Good afternoon everyone! Today I don't actually have any swatches or nail art to show you. I tried saran wrap nails and failed at it, so I haven't taken any pictures. I may take some later just to show you guys my nail fail.However, I do have a quick little review to share!

About a week and a half ago I decided I wanted to try a new topcoat. Why? Because my Seche Vite is a bubbly mess with glitter particles and such stuck in it from using it so much that it's just picked up unwanted particles along the way. I have been refilling this bottle since before last Christmas, so that may be why! Either way I decided to try out another Sally Hansen topcoat. My first topcoat ever was a Sally Hansen one, and I loved it! So I'm giving Sally Hansen a shot, and it wasn't actually that bad!


The instructions on this topcoat say to wait two minutes after applying nail color and then add a coat of this topcoat. 

According to Sally Hansen's website, it "Keeps manicures beautiful up to 10 days! Exclusive Acrylic Polymer Complex helps get you out of the door in a flash — just 30 seconds to set! High-gloss superior shine."


The Pros:

  • It doesn't shrink the tips when applied over dry polish
  • It does dry rather quickly- 30 seconds is probably a stretch, but it's drying time is definitely up there with other popular quick dry topcoats.
  • Good consistency- not too thick, not too thin. Definitely thinner than Seche Vite though.
The Cons:
  • Since it's rather thin, it's not good for evening out nail art like Seche Vite is
  • It's not quite as shiny as other topcoats
  • It seems to get air bubbles in it very easily. Almost every time I've used it it's had quite a few air bubbles. However the air bubbles in this seem to be easier to brush away, unlike in thicker top coats
  • This may not be a con for everyone, but I'm not a fan of the red bottle, I prefer top coats to be in clear bottles.While you can see through this bottle, the red kind of masks the air bubbles and you have to look closely to see the topcoat in it. Better than the first Sally Hansen Top Coat I had which had a silver bottle that wasn't even see through! 
I can't comment on the lasting ability of this top coat, since I haven't had it on for more than about 2.5 days, but in that amount  of time it didn't chip, it did get a bit of tip wear and scratches on it though.

I'm going to be completely honest. This is an alright topcoat depending on what you're using it for, and that's about it. Is it my favorite? No. BUT it's only about $5 and since I don't usually keep my polish on for more than a couple days, it works well enough for me. I still prefer my seche vite though, I think it's just more shiny.

Saturday, August 18, 2012

Subtle Studs

Good morning! This morning I have something subtle to show you. It was late last night and I wanted to try out those square studs I got the other day. So I started placing them on, then realized I was way too tired and it was way too late to do as many as I had planned on each nail. But I think one on each nail like this is plenty! I love the red and gold together, kinda...dare I say sexy? haha. 


Pictured is three coats of China Glaze City Siren with Sally Hansen Insta Dri Anti-Chip Top Coat

To attach the studs I used my dotting tool to make a large dot of nail glue near the bottom of my nail, and then used the smaller end of my dotting tool to attach the stud. I have to say though, if you only plan on wearing it for a couple days, try using a clear coat or top coat instead of nail glue. I wore it for about 2.5 days and none of them fell off, and the glue was a little difficult to get off-it required lots and lots of acetone!

Friday, August 17, 2012

Playing with Striping Tape!

Good morning guys! Well, I guess it's still night since it's only 2 am, but I wanted to post this before I go to bed since I'll be very busy tomorrow.

Over top of I Vant To Be A-Lone Star from yesterday's post, I decided to try out the striping tape I recently got! Not to shabby for my first try! I definitely need to make sure the tape is down all the way though, there's some spots where it started to come back up and I didn't push it back down before painting. Oops!

I used 2 coats of OPI How You Blue-In'? over top of OPI I Vant To Be A-Lone Star.


And, because I thought it was weird looking, what my nail looked like with the striping tape on and after painting How You Blue-In'? over it. It reminds me of a spider. A weird, oddly shaped, possibly dead, spider haha


What do you guys think? Are you a fan of using striping tape in this way, or do you prefer to just cut the tape to the length of your nail and leave it on to create stripes?

Personally, I prefer using it as a guide to do stripes, I can only imagine that after a little while of wear the tape would just peel up and drive me insane!

Thursday, August 16, 2012

OPI I Vant To Be A-Lone Star Swatch & Review

 Today I just have a quick little post for you guys. Last week when I went to Ulta I picked up again. Every time I've gone to Ulta in the past few months I'd always pick this one up and say "ooh this is pretty!" then put it back. But this time was different- it was on clearance! It was only marked down to $6.49 instead of the usual $8.50, but hey, that's still enough to make me finally buy it! It didn't disappoint either.


Pictured here is three coats of I Vant To Be A-Lone Star with one coat of Sally Hansen Insta-Dri Anti-Chip Top Coat (review of which is soon to come!)

I Vant To Be A-Lone Star is is a light blue with a hint of grey. It has some silver shimmer in it too. The shimmer in this reminds me of a frost, it's not though, which is good because that means no brush strokes showing! Application and consistency were pretty good. Three coats and it was perfect, and it wasn't too watery or runny either, I can honestly say this is now one of my favorite polishes I own!

Unrelated to the color, but I had to trim my nails down because I will be starting college in about a week and a half and since I'm going to be a music major I have to take a keyboard class. If any of you guys have tried playing piano with longer nails, you'd understand why I cut them, playing piano with long nails is not only hurtful but really difficult when your nails just slide around on the keys and get stuck between the keys!

How do you guys prefer your nails-short or long? Personally, I prefer this length but just get too lazy to cut them and let them just grow!

Wednesday, August 15, 2012

China Glaze For Audrey and Loose Glitters From bornprettystore.com

Hi guys! I decided to try out those loose glitters I got a few days ago for this. Inspired by thenailasaurus and the outline/border mani, I did this! 


Attaching the glitters wasn't that difficult, but it was a tad time consuming since they would stick to each other and then instead of picking up one glitter I'd be picking up five. Other than that application was easy and anyone can definitely do this. 

I absolutely love For Audrey. Isn't it just gorgeous? And application...flawless. Two coats. That's it. LOVE. Probably one of my favorite China Glazes ever. 

Tuesday, August 14, 2012

First Attempt at Using Nail Art Microbeads!

As you may have seen in my post from yesterday, I ordered some microbeads off of bornprettystore.com to try, and couldn't wait to try them! It took me about 4 tries to get this right. I tried it first with the technique of just using clear polish to hold the beads down and sealing with a topcoat. The first time I screwed it up when I put a topcoat on it. The second time I opted to not put a topcoat on, which was okay...for about an hour, then they started falling off at the slightest touch. So I put a topcoat on and screwed them up. The third attempt I tried with a different topcoat (OPI topcoat instead of my Seche Vite, which was really bubbly.) It got rid of the air bubbles, but I didn't wait long enough and ended up just dragging the beads off when I tried putting the topcoat on.

As you could probably guess, I got frustrated, my mom actually had to calm me down and look it up online about how to do it. After my little freak out session, we concluded that nail glue would probably be the best option for me. So the next day when I went out I stopped by Sally's and picked up some nail glue and tried it. And it worked! And I don't think it looked too bad either. Take a look! :)


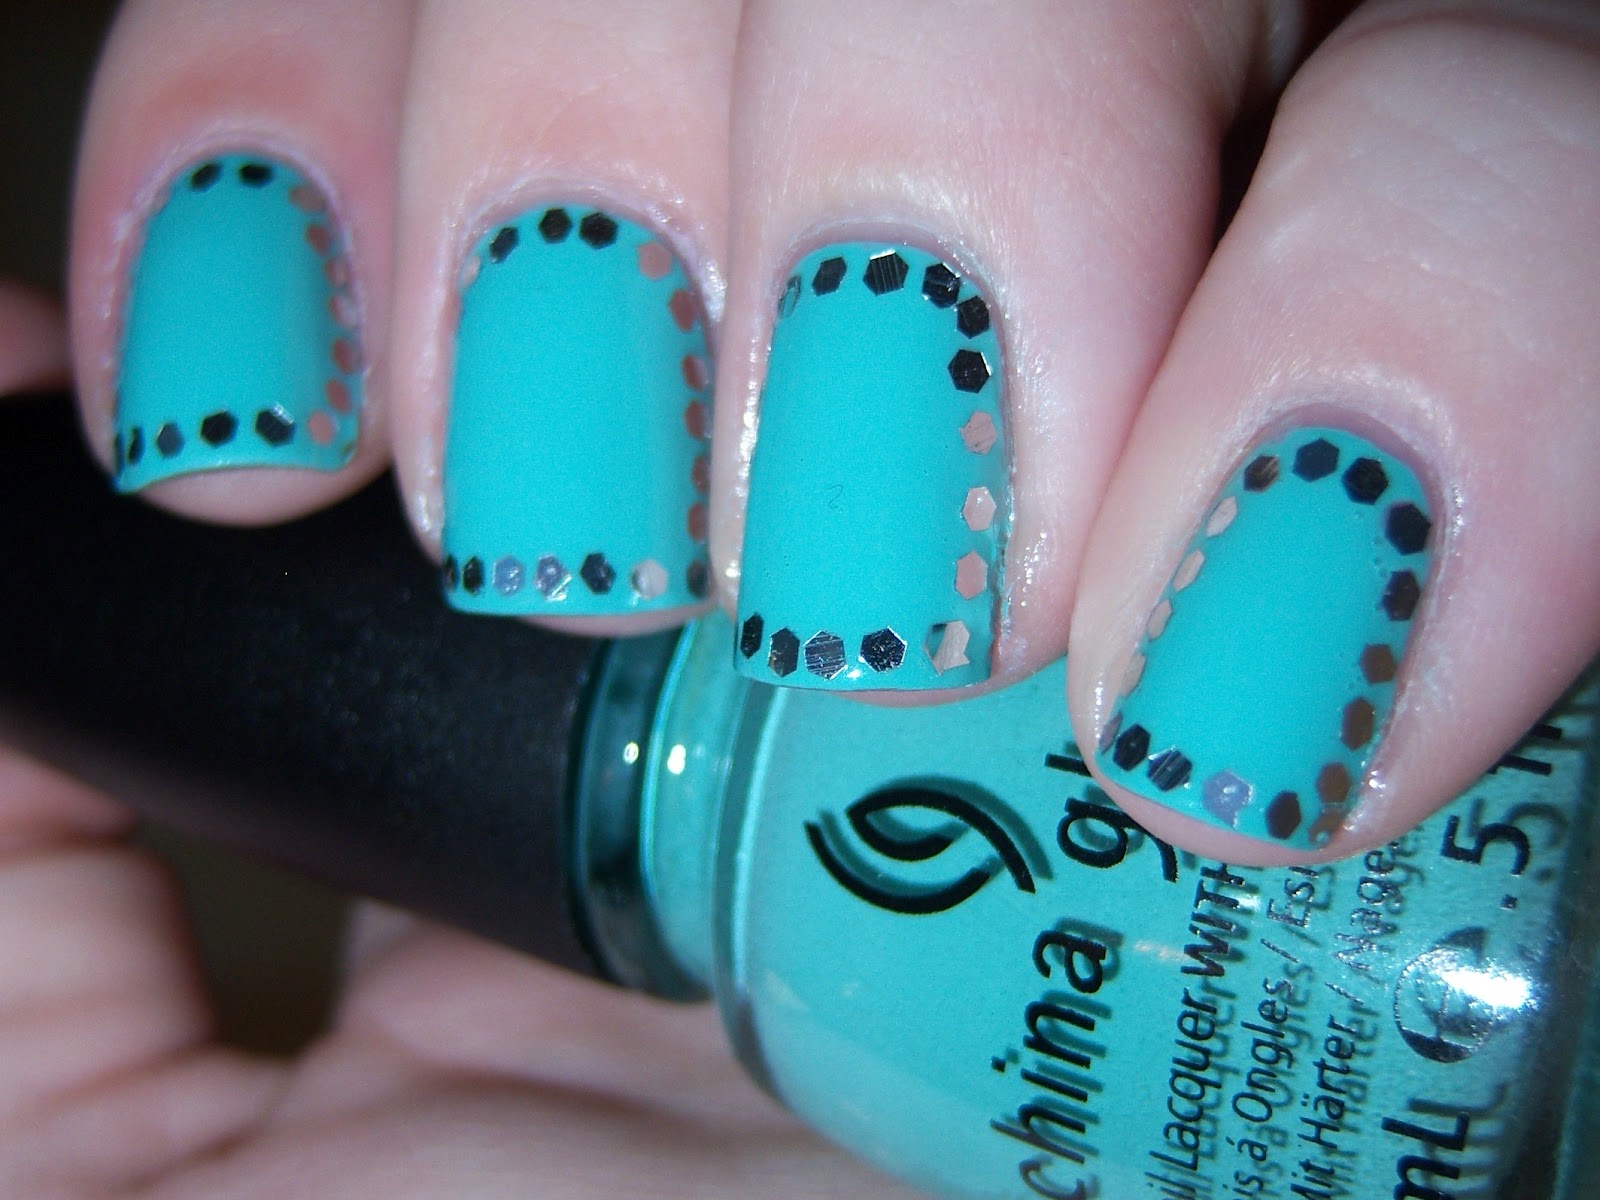
For this I used three coats of China Glaze Urban Night and a coat of Seche Vite over all nails excluding the one with the beads. For that I just did three coats of Urban Night, applied nail glue, attached the beads, waited about a half hour, and applied a coat of OPI Topcoat. You could use Seche Vite over the beads, but mine has a ton of air bubbles in it so I only used it on the other nails. Top coat with a ton of air bubbles really shows through over the beads, even if it doesn't show that badly over regular polish. 

This actually lasted about 2.5 days before I started popping the beads off myself! I probably could have gotten another couple days of wear out of this if I hadn't of popped them off myself. The nail glue I used is the one pictured below, which worked well. Instead of applying small drops of it I put a big glob on and then spread it out with the large end of my dotting tool. I imagine using brush on glue would have been better, but I didn't think of that at the time. Oops!

The nail glue I used.

I used this end of my dotting tool to put the beads on. I dipped it in a little tiny bit of glue and wiped it off so that it was still tacky. You could also use a toothpick, but I imagine that'd be much more difficult.

And now, just to show my failed attempt, the first time I tried it, pre topcoat.


Do you see how much of a stringly, ugly mess that was? I used seche vite instead of a clear coat so that contributed to it being really really stringy since it dries so fast. So I definitely do NOT recommend using Seche Vite to try to apply them.

Also, like I talked about in a previous post, do you see how these microbeads aren't the same size? It's really noticeable in close up shots like this, but it's not that noticeable otherwise, unless you get the largest bead and the smallest bead next to each other. 


Monday, August 13, 2012

Bornprettystore.com Haul & Review

Hi guys! Today instead of nail polish/nail art, I'm going to do a review on bornprettystore.com and a few of their products that I purchased. When I was deciding whether to purchase items from them I searched the internet for quite some time trying to find good reviews of them and the products I was looking for and couldn't find a good review anywhere! Hopefully this review will be helpful or someone else in the future who wants to research them and their products prior to purchasing. :)

Product Reviews:


Products Purchased:
Round Gold Studs (middle, top left)
Square Gold Studs (middle, top right)
Silver Striping Tape (middle, center left)
Black Striping Tape (middle, center right)
Rhinestone Wheel (middle, bottom)

Sunday, August 12, 2012

OPI Pirouette My Whistle over OPI My Pointe Exactly


Pictured is one coat of OPI Pirouette My Whistle Over yesterday's nails, OPI My Pointe Exactly. I am absolutely in love with Pirouette My Whistle! I have a huge weakness for glitter polish and I don't have anything like this in my collection. It reminds me of China Glaze Techno, except it's not holo glitter! Despite not being holo, it's still sparkly and gorgeous, it just makes it great for when you want glitter, but don't want it to be "in your face" glitter. The larger pieces of hex glitter are more sparse than the fine pieces, which means if you don't want to have a nail with only 1 hex piece of glitter and others with a large amount of hex glitters, then you will want to just pay a little more attention to your application, unlike if you were applying China Glaze Fairy Dust. Aside from that, the application is wonderful. Unlike China Glaze Snow Globe, where it sinks into the polish a little bit, this just lays on top of the polish perfectly. It is lies smooth and flat.

Saturday, August 11, 2012

OPI My Point Exactly Swatches & Review


Pictured is 4 coats of My Pointe Exactly and one coat of Seche Vite

I've seen many pictures of this and read many reviews of the NYC Ballet Collection, and in all the reviews I've read, everyone said these were not streaky, patchy, and were "self-leveling".

Obviously I didn't quite get the application right then, because you can see in the last picture with flash that it's streaky and uneven in spots. Unevenness aside, this is a great color. It's a sheer grey jelly, that on my skin tone leans more on the blue side. It leans so much on the blue side on me that it makes my hands look like I'm just really cold. However the application was much better than I expected with this. Usually with sheer polishes they're a streaky mess on me, these didn't even look that streaky and uneven unless I was really looking for it, so even though they were uneven in spots, it was not that noticeable and was most likely just due to my application. 

Usually I hate seeing any VNL, but the finish on these made these acceptable to me, and I actually really love it! I bought it with the intention of doing a jelly sandwich, but I think I actually might wear it by itself a lot also! 

Thursday, August 9, 2012

Zoya Ivanka


Pictured is three coats plus one coat of Seche Vite.

Like all the other Zoya's in my collection, the application and formula were great. The polish goes on smooth and doesn't get chunky like other glass flecks/glitter tend to do. Honestly, I can't tell if this is a glass fleck or a glitter. In the bottle it looked like a glass fleck but when i went to apply it it looked like very fine glitter. There is some VNL, but that was most likely due to my application, my room was dark when I applied it so I may have missed some spots.

Don't forget to wrap the tips though! I didn't and it's painfully obvious. 

Wednesday, August 8, 2012

Ruffle Mani

Hi guys! While I was scrolling through chalkboardnails.com I came across this fantastic tutorial here and decided to give it a try! It's surprisingly really easy too, all you need is a large dotting tool and multiple polishes! I decided to use the Color Club holos since I already had Wild At Heart on. Check it out! :)


Polishes Used
Color Club Wild At Heart
Color Club Revvvolution
Color Club Love Em Leave Em
Color Club Worth The Risque
Color Club Fashion Addict


Tuesday, August 7, 2012

Color Club Holo Swatches and Review

As many of you probably have seen, Color Club will be releasing a new holo collection this August/September! Ah! More holos! I'm So excited to get my hands on them! You can see a couple pictures here at Neverland Nail Blog. :) Because of this new collection, I decided to swatch the old, well soon to be "old", Color Club holos in preparation of the new holos! Now, onto the photos! warning, there's a TON of pictures, and you can probably tell which one is my favorite based off the absurd amount of pictures I posted of it :) Please note some of these pictures are in fact blurred, but I included them because they showed the holo a lot better than nearly all the in focus ones.


 All taken with flash in indirect sunlight from my window.
Revvvolution. Black holo

Monday, August 6, 2012

China Glaze Kiwi Cool-Ada & Icing Love It

I wasn't even going to post this since I could not for the life of me get this to photograph and be color accurate, but I thought I would share my failure anyway. China Glaze Kiwi Cool-Ada is actually a neon, not this spring, grassy green that my pictures are showing. Icing Love It is a multicolor glitter that has purple, black, gold, and blue glitter mixed in (I think, I don't have my bottle with my right now but when I get back home I'll double check!). Application of Kiwi Cool-Ada was alright. Like most neons I have it was streaky on the first coat and evened out at around 3-4 coats. Pictured here is four coats of Kiwi Cool-Ada, one coat of Love It, and one coat of Seche Vite. You could probably get away with 3 coats of Kiwi Cool-Ada, but I did a fourth just to make sure I didn't miss any spots.


Neons are a pain to photograph. I took a picture of my neon shelf on my nail polish rack and they looked almost pastel! Crazy, right? I have a long way to go before I learn how to properly photograph neons.

Saturday, August 4, 2012

China Glaze Trendsetter

China Glaze Trendsetter is from their Metro Collection from last fall. It's a mustard yellow with gold shimmer in it. In the lighting in my house it looks more like a darker olive shade than a mustard, but once I'm outside I can see how it's mustard. My mom actually described this as "an ugly pea baby food" color, which I have to agree with. It's ugly, but awesome. I've actually had this sitting on my nail rack for almost a year now because I wasn't that fond of it and thought it was ugly, but eventually it grew on me. It reminds me of those dogs that are so ugly yet somehow they're cute and you just want to play with all day. It's so ugly and unique, that it's awesome! See for yourself!


What do you guys think? Are you into these kinds of ugly, yet awesome colors? Is it something you'd wear?